
Big Walk's collectibles are the red prizes — physical rewards that puzzle solutions hand out and that power the island's towers. There is no endless loot hunt; prizes are the game's progress system, and the world gives you more than you need. This page collects what's verified about how they work, where they show up, and how they connect to the 100% checklist.
What red prizes are
- Puzzles dispense red prizes. Solve a puzzle and it hands out a red prize — a physical reward your group carries. That's the core loop: solve, collect, carry.
- Prizes power towers. Each colored tower's console (or rooftop cases) takes five prizes. Fill it and the tower produces a key that unlocks a system — the map, trains, chairlift or tunnels.
- You get more than you need. The world intentionally hands out more puzzles than the towers require, so a group never has to solve every single one. The blue tower even accepts any five red prizes on the island (per Quest Daily).
A note on the word "gourd": some community guides describe these as red "gourds." Our sources describe a red prize dispensed by puzzles and placed in tower cases — we treat "gourd" as unofficial shorthand until an official source uses it.
Where prizes come from
The best-documented prize sources (each with its own guide):
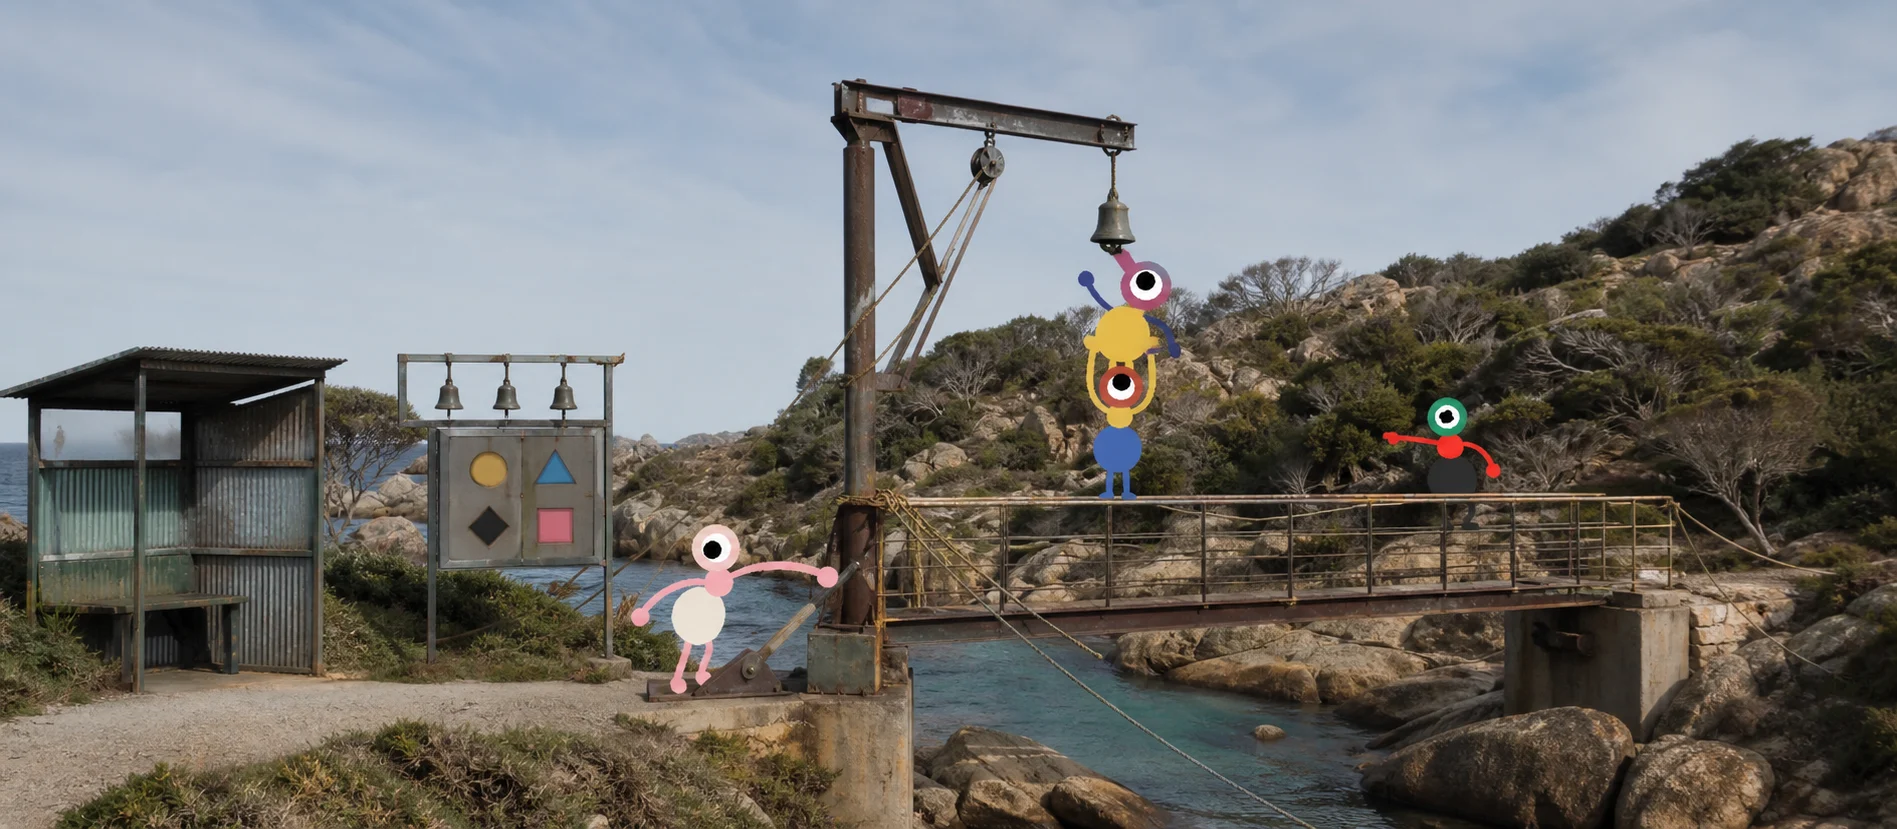
- Four starting-area puzzles — the crane, spyglass, blue house and green scaffolding puzzles; their prizes release the drawbridge key. See the drawbridge route.
- The red tower's five puzzles — the yellow maze, a green button room, the train station's timer cannon, the basketball court and a mountain-overlook gesture puzzle (Game Rant). See the red tower guide.
- Mid-island puzzles — the heavy golf ball ("Hole In Many") and the directional microphone ("Big Talk") both pay out prizes. See the all puzzles guide.
- The blue, green and yellow tower sets — five puzzles each, documented in the blue, green and yellow tower guides.
How to track what you've found
The map room diorama doubles as a completion tracker (per Insider Gaming):
- A flag on a puzzle means it's finished and its prize turned in.
- A standing prize figure means the puzzle is done but the prize isn't turned in yet.
- A laid-down prize means the prize was collected but not yet submitted.
The paper map marks towers and collected prizes too. If you want a companion map, the MapGenie interactive map tracks prizes and collectibles between sessions. See the map guide for the full workflow.
Carrying prizes: backpacks matter
Prizes are physical, and your hands are limited — that's where backpacks come in. Backpacks let you carry a second item (one in your hands, one in the bag), and a teammate has to put the backpack on you. See the item guide for what's worth carrying and the beginner FAQ for where the first easy backpack is.
Prizes and the 100% checklist
- Prizes themselves are progress, but the 100% checklist is about trophies, purple puzzles and skipped challenges — not collecting a specific number of prizes.
- The Big View trophy is tied to unlocking the map (the red tower prize route).
- Anything your group skips (accessibility) must still be finished if you chase the complete ending — so skipped puzzles' prizes matter for 100% completion.
- The post-game adds seven purple remixes, which are the real endgame cleanup targets — see the purple puzzle tracker.
Sources
- All puzzles guide — how prizes and keys work end to end
- Map guide — the map-room completion tracker
- Official Big Walk FAQ
- Screen Hype: all items guide