
The raised drawbridge is the only hard gate in the opening area. Unlike the later towers, its four prizes come from a fixed set of beach puzzles. Complete them, shape the golden key through five cutters, and the rest of the island opens.
Quick route
| Stop | Coordinates | What you need |
|---|---|---|
| Beach control panel | 3550, 1100 | Four red prize pieces |
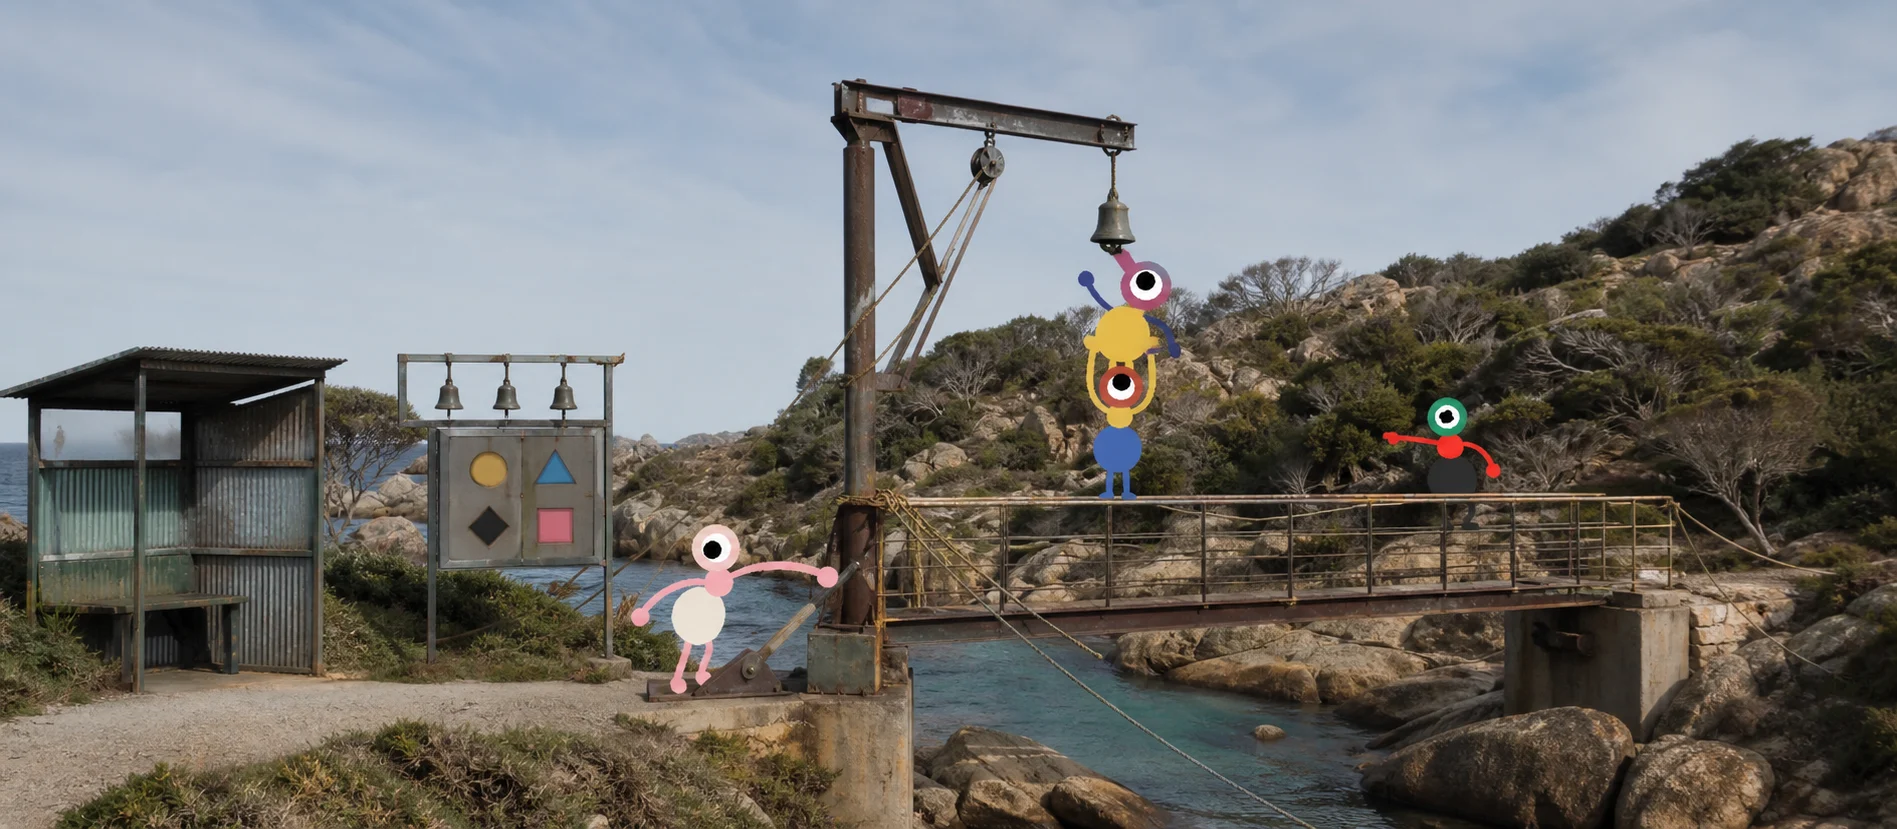
| Crane | 3520, 1280 | Two players; one stands on the other |
| Spyglass | 3510, 1195 | One player holds a button while another follows the red light |
| Blue house | 3660, 1295 | One player reads five symbols; another places pieces |
| Green scaffolding | 3650, 1220 | Two buttons pressed in a short timing window |
Coordinates are community-guide coordinates and can be easier to read once the map is available. Before that, use the tutorial exit, the paint-palette building and the raised bridge as landmarks.
Puzzle 1: Crane
Find the yellow crane between the boulders after leaving the tutorial area. Target a teammate and lift them onto your head. The player on top presses the red button underneath the crane. Confetti means the first red control-panel piece has dropped from the crane.
Fast hint: stand close enough that the person on top can see the underside button. A lantern is useful if you are returning at night.
Puzzle 2: Spyglass
Climb the path from the crane to the telescope platform. One player must press and hold the platform button. While it is held, a red light appears across the valley and marks a glass box containing the second piece.
The runner should follow the telescope's direction while the button-holder stays put. Release the button too early and the box becomes unreachable again.
Puzzle 3: Blue house
The blue house has nine loose symbol pieces outside and a five-screen panel inside. One player enters, presses the button and gets locked in. The inside player describes the five symbols from left to right; the outside player places the matching pieces in that order and presses the wall button.
The symbol sequence can vary between sessions. Do not copy a solution from another group's screenshot; copy the communication method instead.
Puzzle 4: Green scaffolding
Follow the path east from the blue house to the green scaffolding. Two players take the buttons on opposite sides and press them within the short timing window. Count down together. A raised lantern is easier to see than a hand signal when the two sides are far apart.
Cut the golden key
Return the four pieces to the beach control panel. Hold the matching red buttons to raise the four glass covers, then collect the golden key. The key is still blank.
Use the five cutters in sequence. The first is beside the control panel, and every finished cut reveals an arrow to the next machine. Follow the arrows down the path rather than trying to memorize a fixed route; darkness and camera angles make the stations easy to miss. The fifth cutter leaves the finished key ready for the lock at the top of the drawbridge stairs.
After the bridge
Crossing the lowered bridge earns Big Walk. From here the island is nonlinear: use any five suitable prizes for a tower route, or follow the spoiler-light recommended walkthrough. The red-tower guide gets you to the map room next.
Player-count note: The beach puzzles are fixed to the opening area, but later worlds adapt to the host's 2-, 3- or 4+ player setting. Extra players usually add targets or raise a threshold rather than changing the core logic.